One of the things I find most valuable is a good quick-start guide. This is the guide I put together to get a React app started and pushed to GitHub, using the Bash terminal in VS Code.
- In the terminal, navigate to the folder on your machine where you want to keep the local copy of your repo.
-
Use
create-react-appto create the new application, replacing<app-name>for your application’s name. Additional documentation is available at reactjs.org.npx create-react-app <app-name> -
Once the application has been created, create a
mainbranch (current GitHub default and preferred name) and delete themasterbranch (still the current default forcreate-react-app).git checkout -b main git branch -d master -
To use
npminstead ofyarn, take the following steps:- Delete
yarn.lock - Delete
node_modulesfolder - Reinstall
node_modulesusingnpm
npm install - Delete
- Clean up the generated
README, removing application boilerplate and adding any content desired for the first commit. -
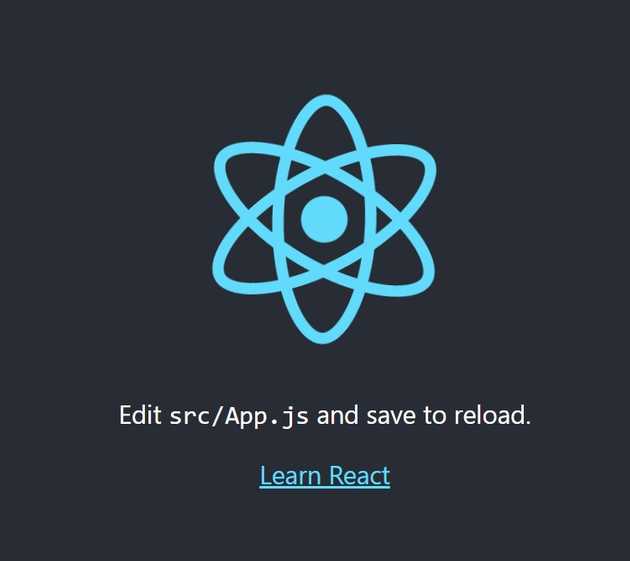
Test the basic React setup and enjoy the spinning React logo!
npm run start -
Commit code locally.
git add . git commit -m "Initial commit" -
Go to your account on GitHub and create the remote repo:
- Use the same name used for the app creation
- Don’t choose to add any of the options for initializing the repo to avoid conflicts pushing the local repo; local already has
READMEand.gitignorefrom the app creation and the license can be added later - Use the instructions from …or push an existing repository from the command line to link the local repo to the remote location; example code below, the code generated by GitHub will contain the correct values
git remote add origin https://github.com/<GitHub user name>/<repo name>.git git branch -M main git push -u origin main - The basic React app is now ready for further development!

